
Uncategorized
Pippi Pinafore by Gemma Daly
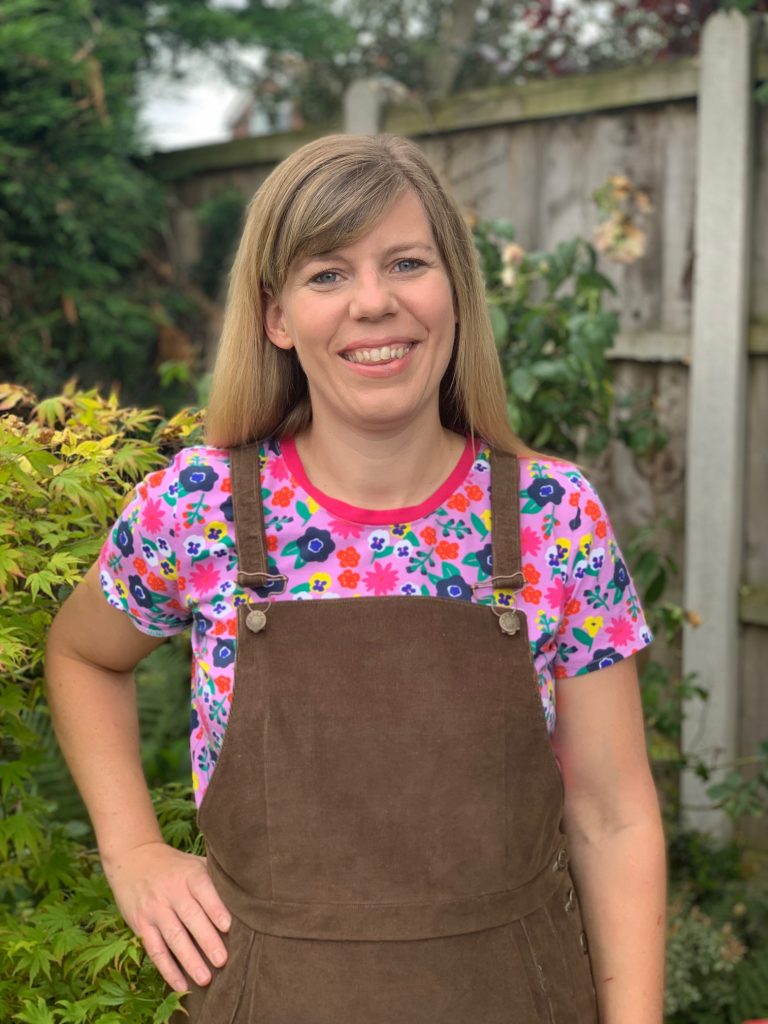
Hi everyone, my name’s Gemma (also known as @thedalythread on Instagram), and I’m delighted to be a guest blogger with The Crafty Studio. When Ann Marie put a call out for guest bloggers, I thought I would put myself forward and I was so pleased when she chose me to do blog for her. Ann Marie was quite keen for me to try out one of her needle cords, which I agreed to do, and I chose the khaki colour.
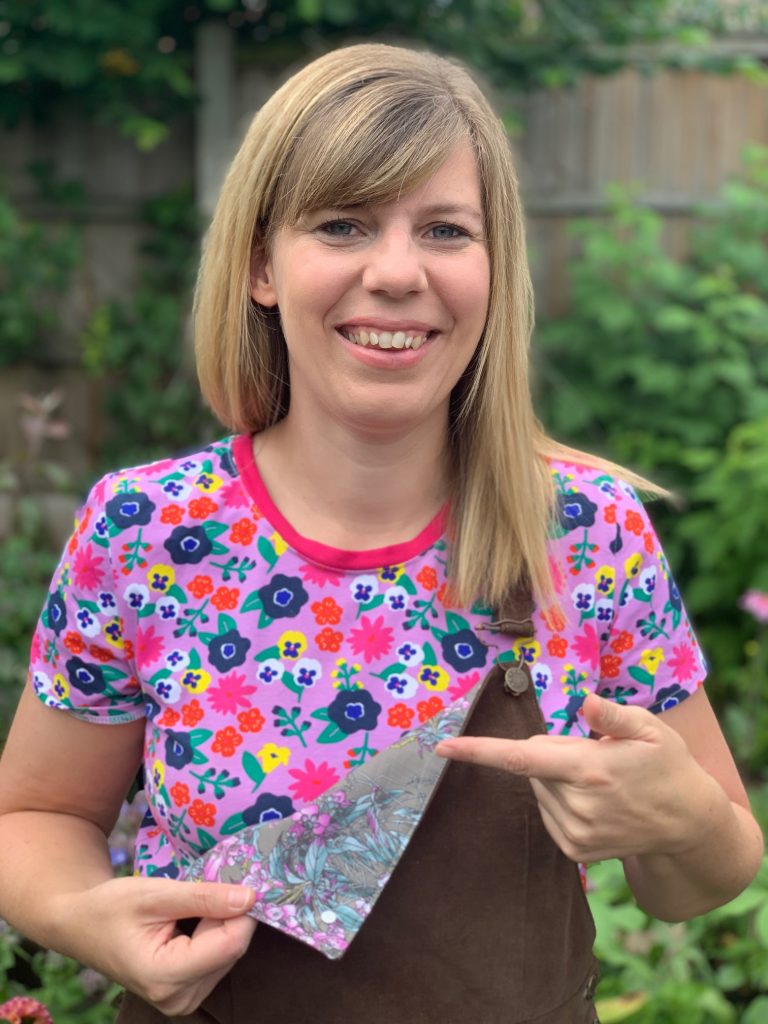
I had the Pippi pinafore pattern by Jennifer Lauren Handmade on my radar, as I’d wanted to make this for a while, so I suggested that this would be a perfect match for the needle cord. The pattern requires a lining fabric for the bib and pockets so Ann Marie very kindly sent me half a metre of the “Japanese floral on khaki” cotton lawn, which you can still find on her website. The cotton lawn is lovely quality, very light weight and super pretty.
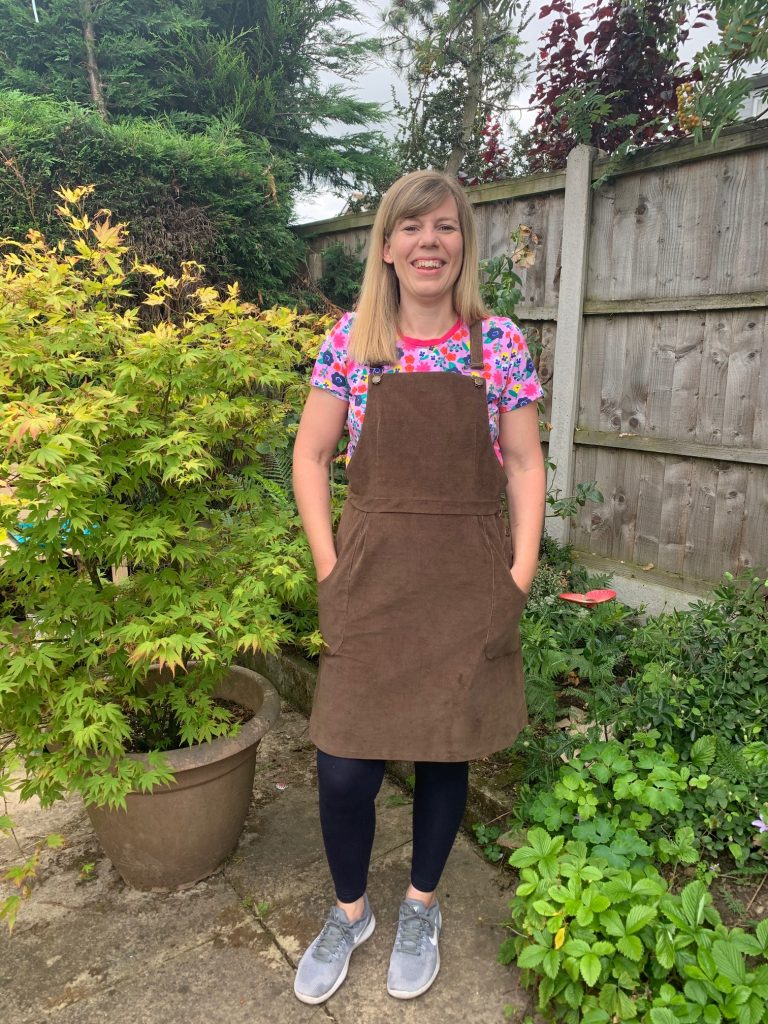
The Pippi pinafore is a confident beginner pattern and can be made in a variety of woven fabrics, from denim, to needle cord and quilting cotton to wool. It’s a versatile pattern that has a more fitted waistband compared to any pinafores I’ve made before, and I think that’s what makes it so flattering.
I made a wearable toile first of all out of denim, and although I will definitely wear it, I had a bit of a nightmare with all of the topstitching! If your topstitching isn’t going to plan, a few things to check/alter are – make sure you’re using a new sharp needle (as blunt ones can cause skipped stitches), depending on if it’s the spool or bobbin thread causing the problem, you could look at altering the thread tension, and also consider lengthening your stitches.
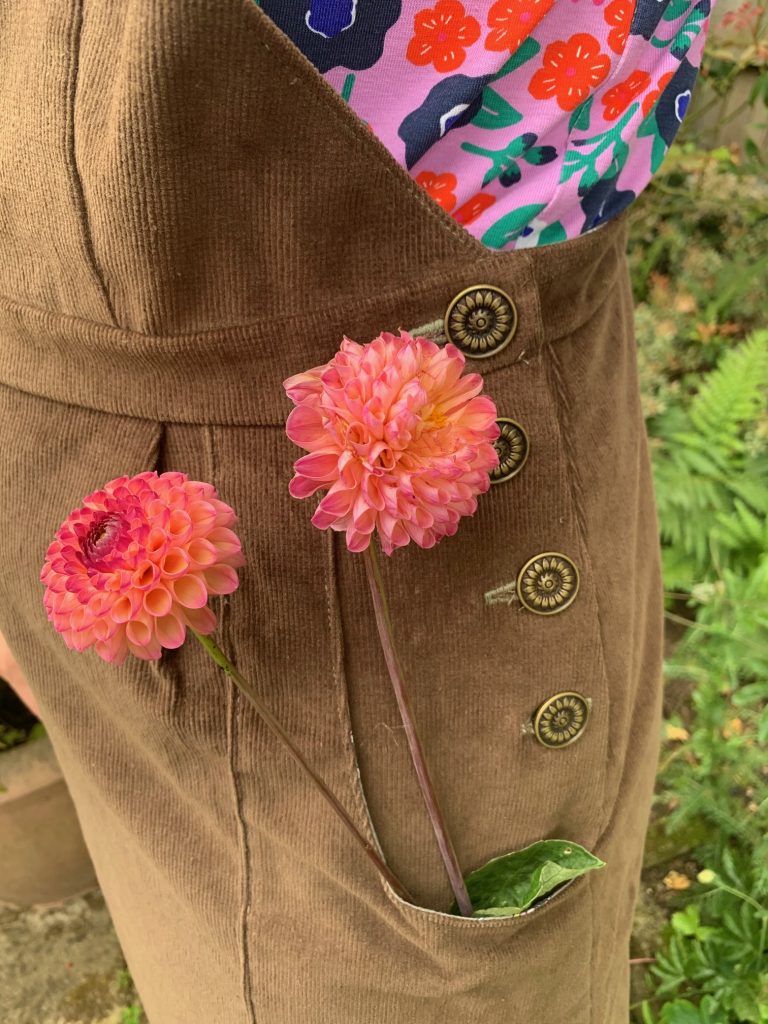
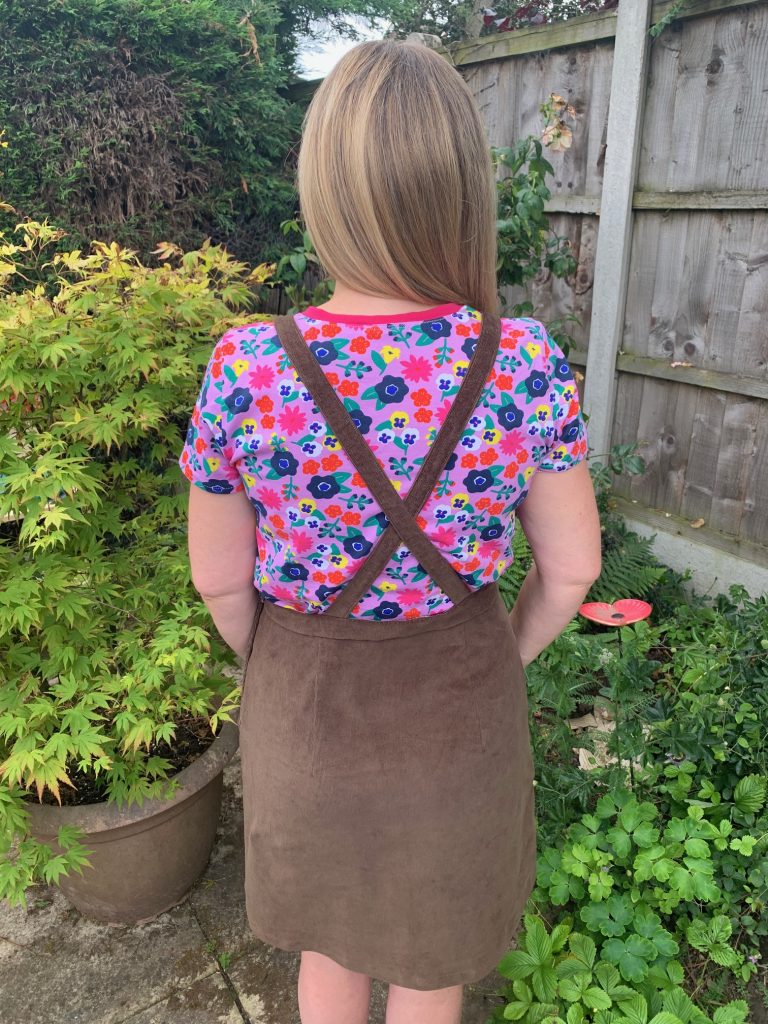
I decided to omit some of the topstitching on my second version of the pinafore, made in the lovely needle cord, as I had such heartache with it the first time around. I don’t think it has taken away anything from it at all and I’m really pleased with my finished garment. Where the pattern instructs you to topstitch on the waistband, instead I folded it over and “stitched in the ditch” so that there was no visible stitching
I also cut off 5cm from the length of the pinafore as I just felt it didn’t sit right on me at the suggested length. I’m 5’6” and it came just below the knee. I prefer it to sit above the knee so that I can wear leggings with it.
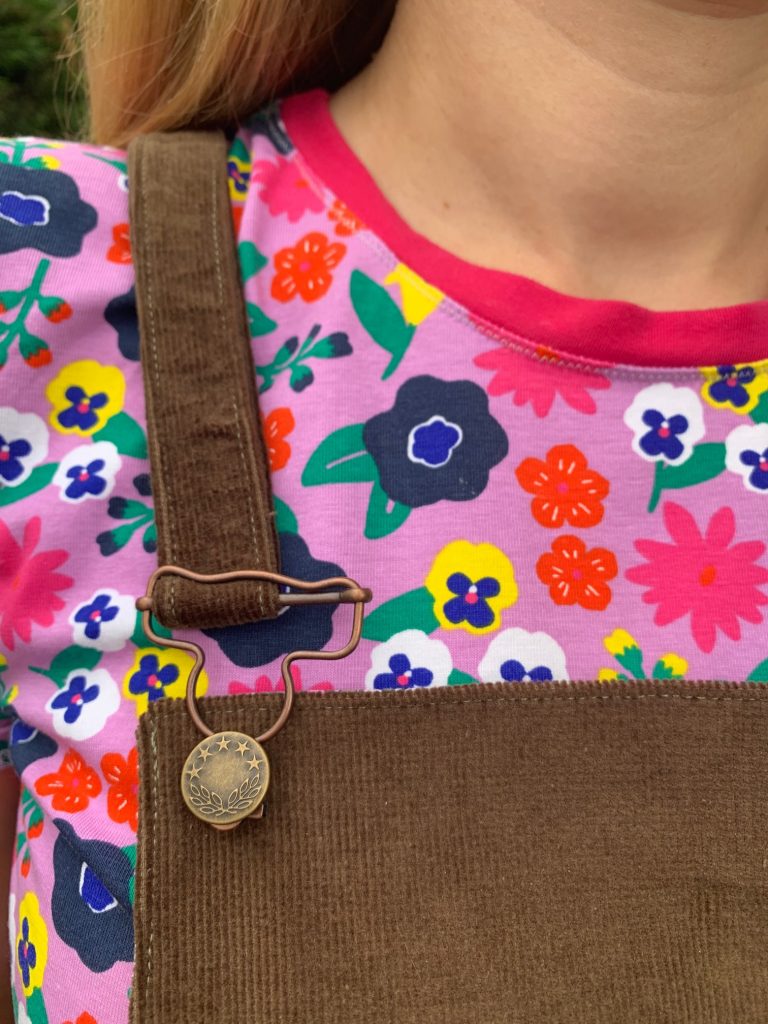
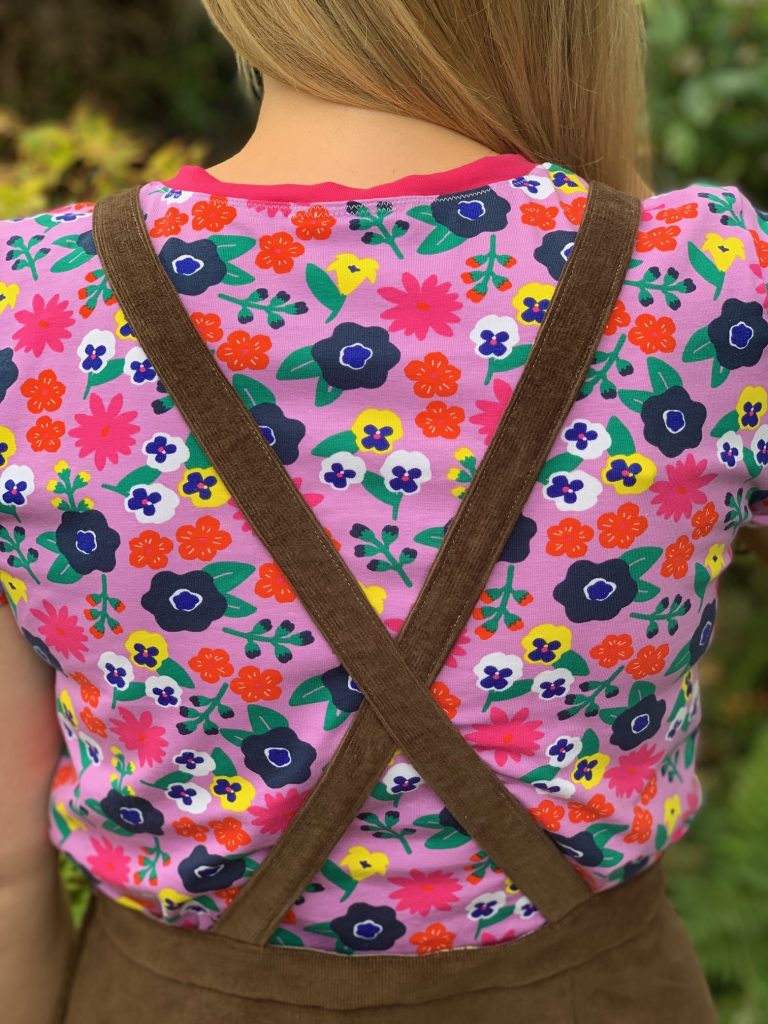
There are a variety of fastenings that you can use to attach the straps to the bib – on my first version I used buttons, but on this version I used some dungaree buckles that Ann Marie kindly provided. I had never used this particular type of buckle before (The Hemline Bib and Brace set in bronze), but I think they look great. You have to actually hammer them on, so I would advise to make sure they are lined up well and hammer on the reverse side. Just don’t do it TOO hard! I was also provided with some vintage sunflower brass buttons which match perfectly!
So on to the fabric….the needle cord was a pleasure to work with, it’s really soft and I had no issues guiding it through my machine. It comes in a variety of colours, so check out the Crafty Studio website and have a look. The only downside to using any kind of corduroy in any form, is that it sheds, so you end up with little bits all over you whilst sewing! I think you could over look that though as it’s such a nice quality fabric.
One other thing to mention is that this fabric does mark quite easily, so it may be worth thinking about what sort of clips/pins you use when sewing and don’t use a very hot iron on it.
All of the items I’ve mentioned are currently in stock on the Crafty Studio website so please do go and check them out if you like what you’ve heard! Thanks again to Ann Marie for inviting me to do this blog post, it’s been a really enjoyable project.
Take care everyone and happy sewing,
Gemma